

There is something quite special about working with someone to realise a handmade one-of-a-kind garment that they will love.
And something a bit scary too! What if I muck it up and they don’t like it? What if they cancel the order? What if…?
This commission came about after I made this merino scarf for my friend Jane a couple of months ago, and one of her friend’s saw it, commented, and Jane told her about Handwoven and what I get up to in my ‘spare’ time.

A connection was made, and I met Jane’s friend in a cafe one Friday to explore what she might like. We’d already discussed colours and possible fibre types via email, so I came prepared with some inventory in various fibres, and a small swatch/sample with the Corriedale wool in colours I thought could work.
By definition, a swatch is a bit of a mess. It’s a range of different colour combinations, weave patterns, fringe finishes etc to enable someone to zero in on what they like and what they don’t like. It also helps me to explain how handwoven fabrics are made, to show some of the limitations and strengths, and to provide a sense of what the finished garment will be like. If you look closely, you can see what the warp thread colours were by looking at the fringe on the left hand side. There are patches of solid colour (silver grey warp and weft, chocolate brown warp and weft), also a small area of houndstooth (two warps each colour, two wefts each colour) some dots, and some other structures, including 2/2 twill which I had to weave using a pick-up stick because I was weaving on a two shaft (rigid heddle) loom. The twill is a common weave structure for wool blankets – it’s also much denser, so you can see the area to the right where the swatch ‘bends’ inwards.
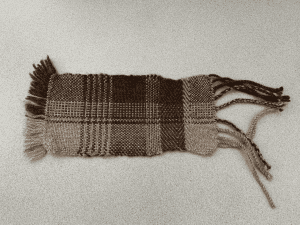
With my prospective client, we looked at the various different scarves in wool, acrylic/wool blend, alpaca, merino, and this swatch in Corriedale wool. She loved the swatch, and asked for something like that, selected her preferred fringe method, and sent me away to work on a 200cm (79″) by 140cm (55″) scarf.
Now, my Rigid Heddle Loom is only 80cm wide, so the project needed to be a double width/double weave project. This means using two heddles and two pick-up sticks to create two layers of fabric joined on one side and open on the other. It’s great fun, but takes longer to prepare the loom for weaving, and then every ‘row’ (called a ‘pick’ in weaving jargon) is actually twice as long because it’s doubled!

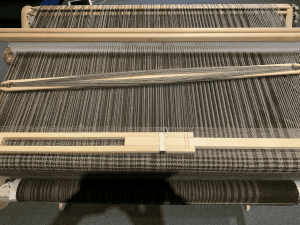
Here is a photo of the weaving in progress. You’ll see I’m using a temple – this is a device designed to hold the width of the woven fabric at the desired size (in my case, 75cm) to avoid ‘draw-in’. I had to order this one from the UK as there doesn’t appear to be anyone stocking or making weaving temples in NZ! Also, which you can’t see in the photo, I used a floating selvedge of fishing line on the ‘fold’ edge to ensure that the tension was consistent. It was the first time I had tried this, and it worked a treat – the fold-line was completely invisible in the finished garment.
All up, the project took around a month to complete, and allowing for shrinkage in the first wash, the finished dimensions were 220cm by 150cm, which reduced to 138 x 200 after wet finishing. Not a bad estimate really! Wet finishing is a process where the garment is washed and dried so enable the fibres to ‘bloom’ and lock into place. When the fabric first comes off the loom, it’s like a net, with holes between the warp and weft threads, but these close up completely after wet finishing to form a fabric just like any that you might purchase in a store!
Gosh – I nearly forgot about the fringe… when the fabric is finished it’s really important to finish the ends so that it doesn’t unravel, and so the ends are nice.
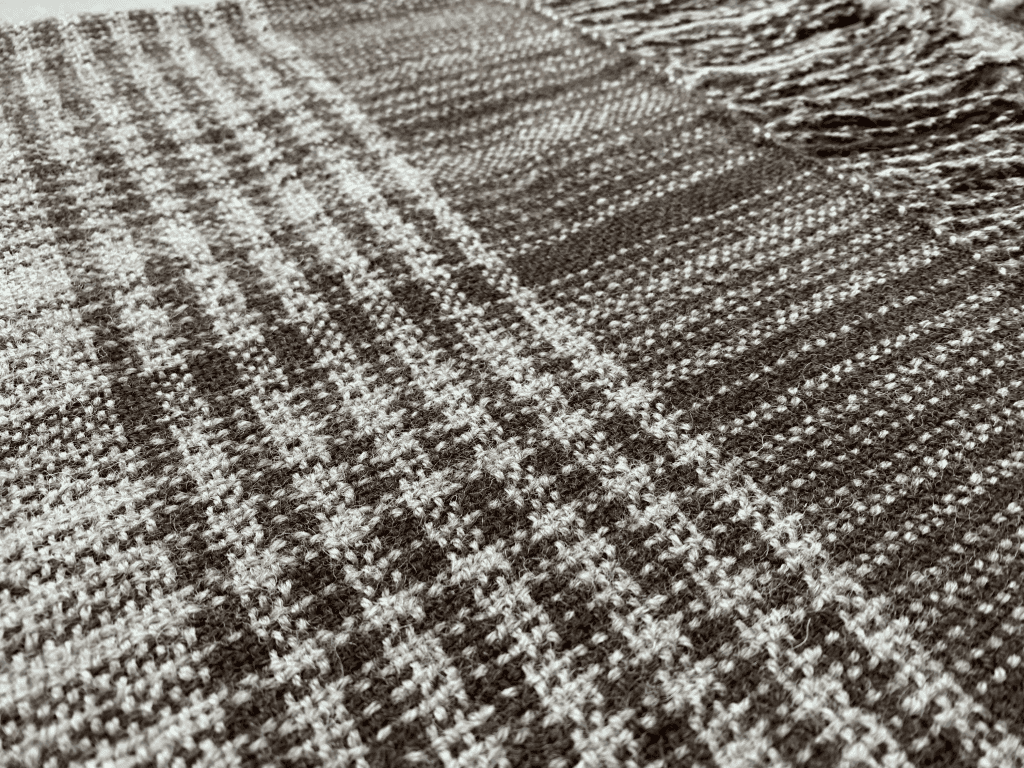
For this piece I hemstitched both ends (three metres total hemstitching by hand) and then twisted the fringe in groups of four warp threads per twist. There were 600 warp threads in total. This process took about eight hours across two days.

About 260cm to go… Last fringe!
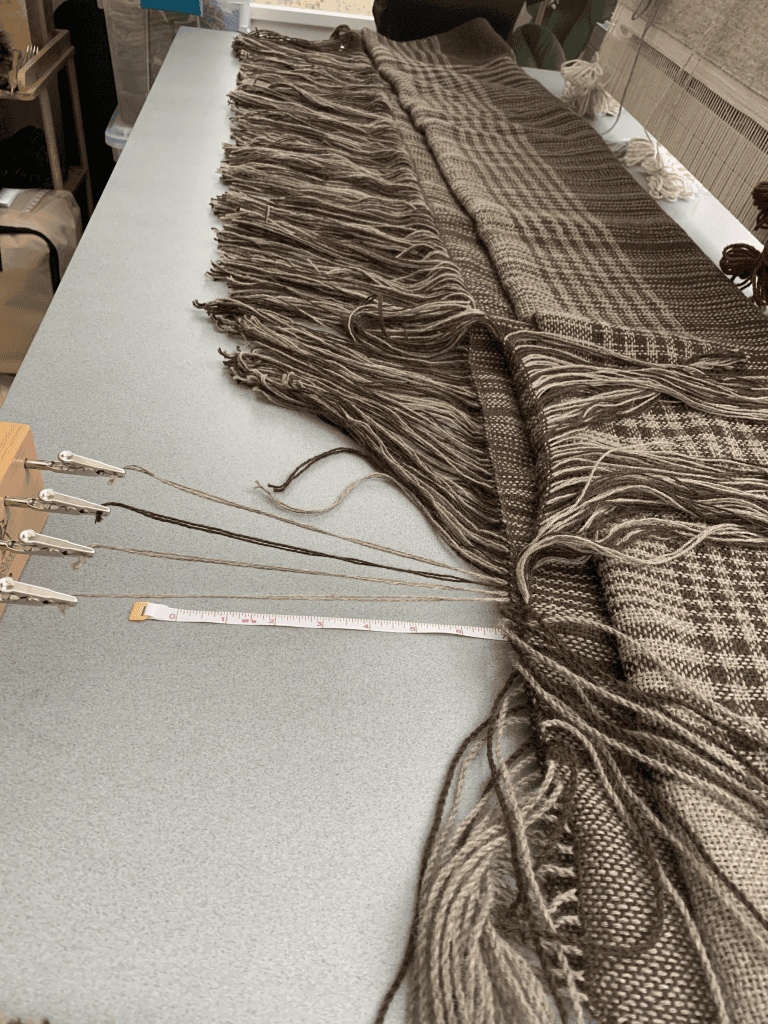
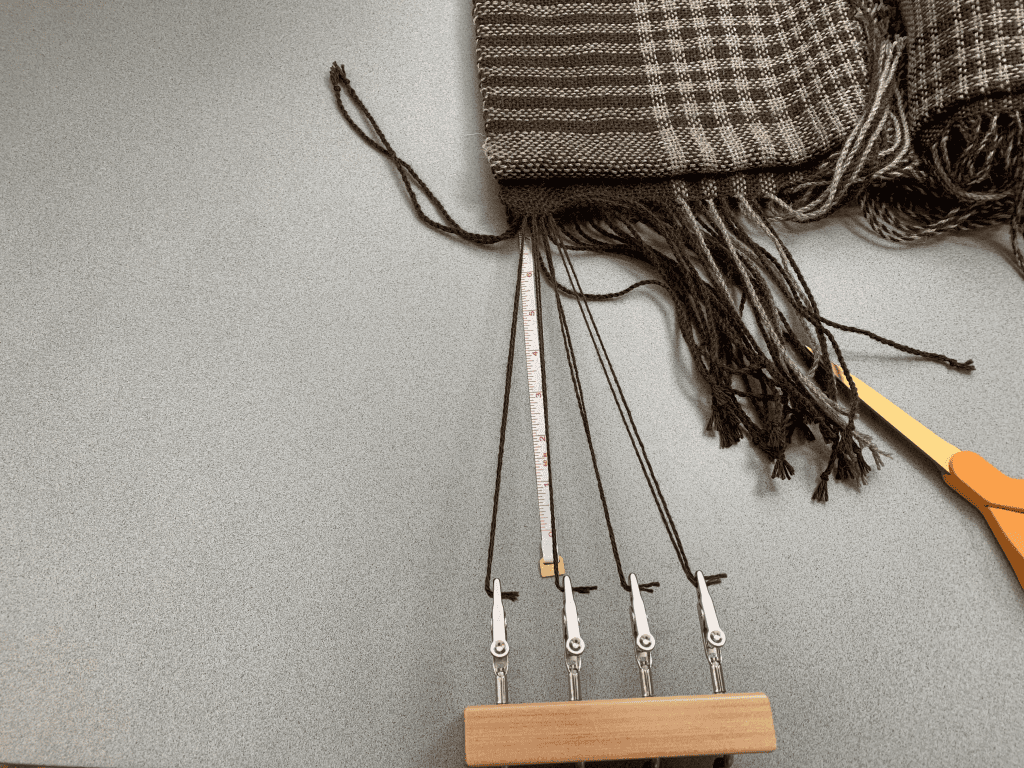
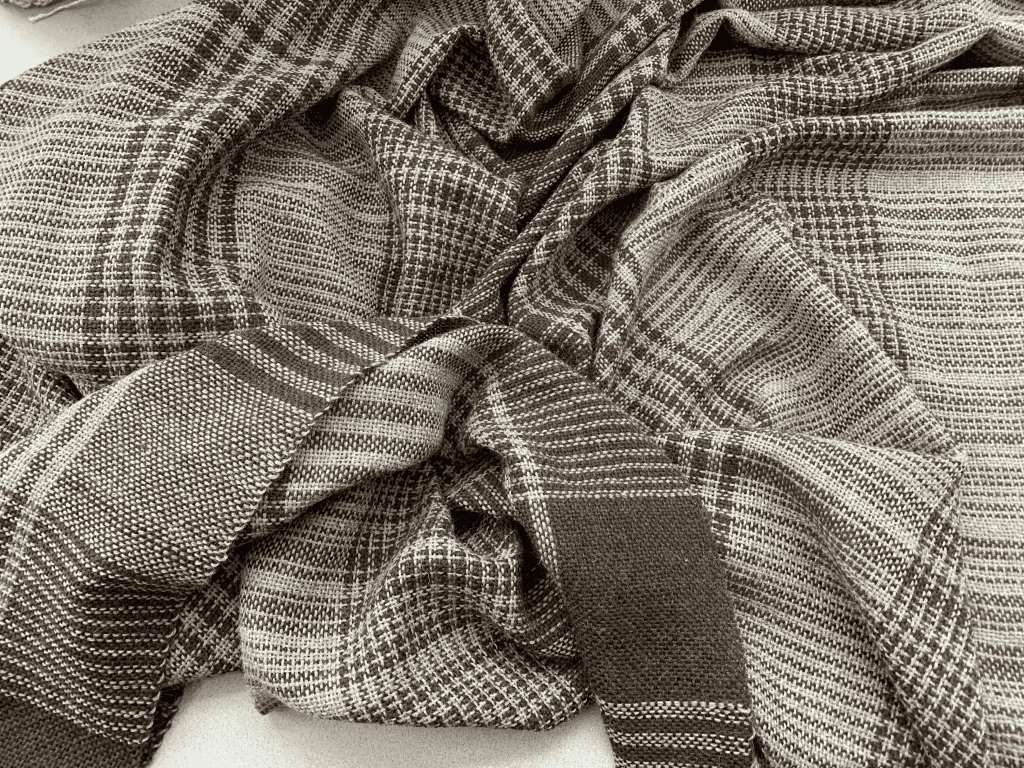
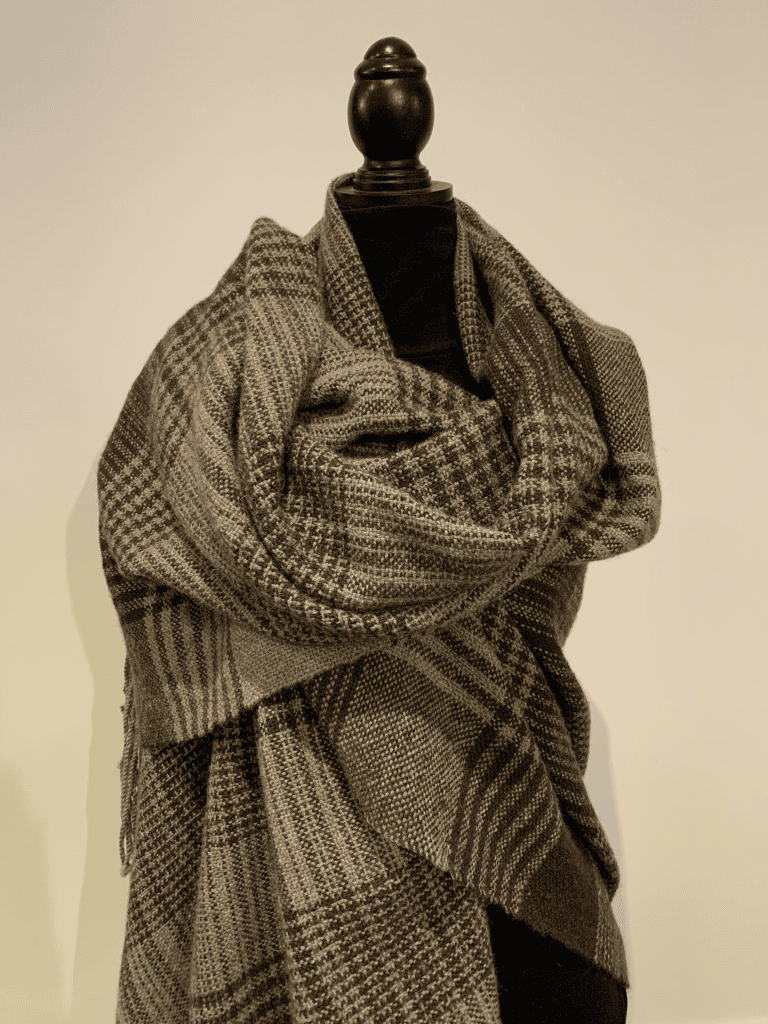
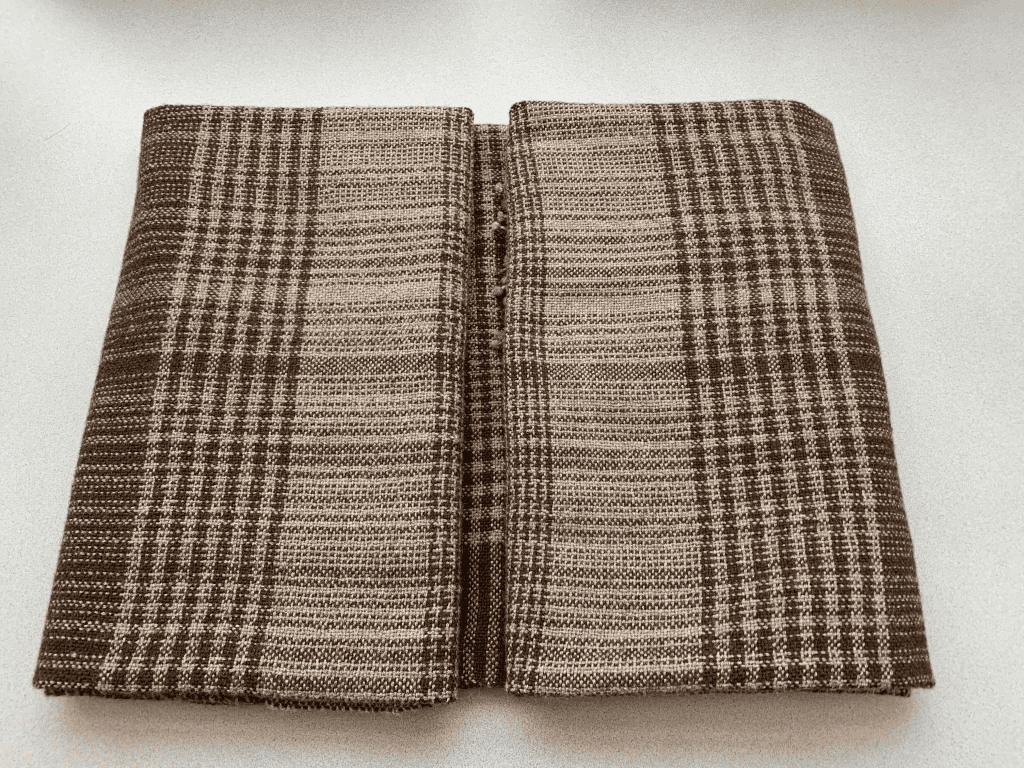
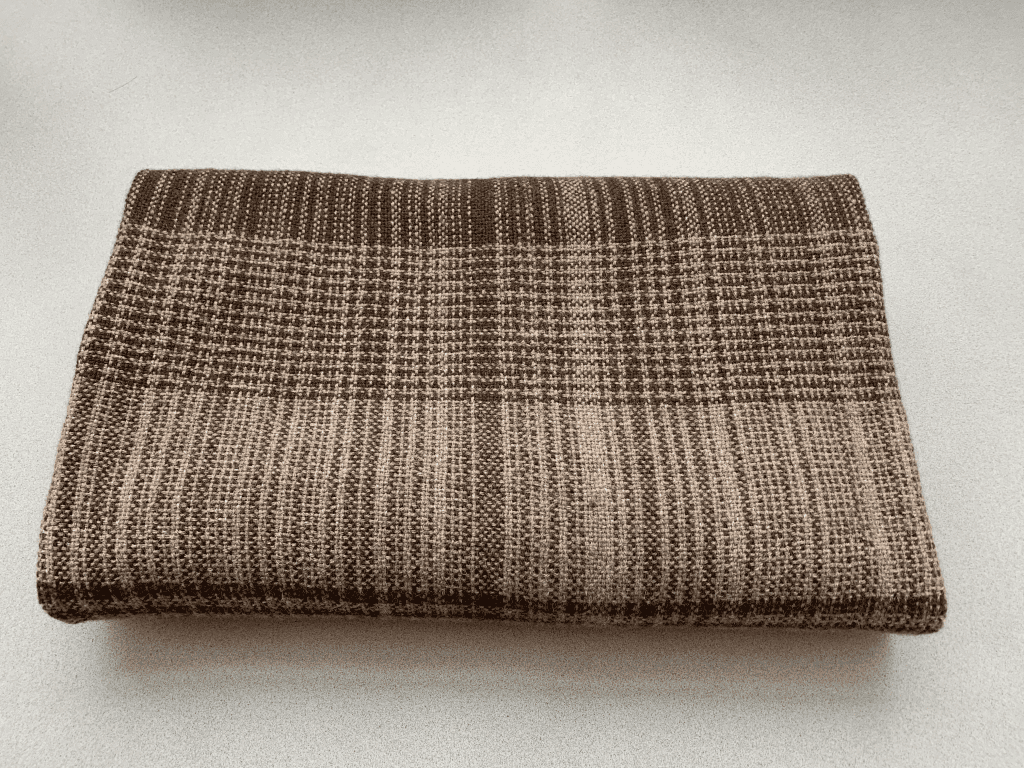
Here are some photos of the finished garment.
Oh… and I almost forgot!
There’s a really important step I always complete before delivering the final garment…
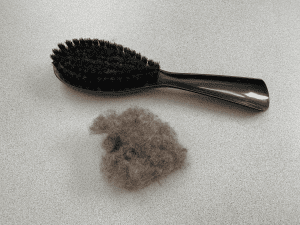
I use a clothes brush to remove the loose fibres. This is a very fluffy craft… the floor under my loom has tumble-weed sized fluff-bunnies. They’re made of very nice fibres, and often hand-dyed… but still!
This garment was an absolute joy to weave, and I was so tempted to keep it! But I didn’t, and my client seemed pretty pleased with it too!
If you think you’d like a custom made garment that’s designed to your exact specifications, get in touch with me here! I’m more than happy to assist.


I am glad I am not the only one – that has commission nerves, all the what if’s -hehe. Lovely that you took the time to explain the process and very well done too by the way. When we say with love – we mean it!!! the hours that go into a handmade item is not something that is knocked up in a hour, the planning the actual getting it done and then the all important finishing work.
As an artist we always appreciate when it goes to a client that truly understands the time, effort and love that goes into our craft and they care for it with as much love as when we made from our end.
Keep up the good work – love seeing all you work :) Laurie
Thanks so much Laurie! I find it best not to add up the hours I spend, so long as I enjoy the process. Otherwise I run the risk of working out the hourly rate!! I pay myself well below minimum wage, but it keeps me in yarn… so I’ll take it!